Generate Open Graph Social Sharing Images With Laravel
Here's the technique I use to design, generate, cache and serve social images for the article you're reading right now.
There are a ton of services that allow you to generate open graph social images, but this can be done in Laravel easily (and for free).
Here are the steps we'll go through to generate dynamic social images for any pages in our apps.
- Create a Blade view with the content we'd like to see within the image
- Capture an image of the Blade view with chrome-php
- Cache the result for faster retrieval next time
- Add open graph tags to link to the generated image
We'll also do all of this without having to physically save the image anywhere or manage storage.
Let's go!
Install chrome-php
The chrome-php/chrome library allows to to run Chrome headlessly from PHP. Running a headless browser just means visiting/interacting with a page, but without the need to actually open the browser — so this can all be done in the background.
First up, install the library.
composer require chrome-php/chrome
Now create a chrome.php configuration file in your Laravel's config directory.
return [
    'binaries' => env('CHROME_BINARIES')
];
Finally, add the CHROME_BINARIES environment variable to your .env file.
CHROME_BINARIES=null
If you already have Chrome installed on your local machine, setting this to null should be fine for now, as chrome-php will choose the most likely location for Chrome. Once you switch to production, you'll be able to easily update this value to point to another location if you need to.
Design and preview the social image
This is the hardest part — actually designing the image! But, since we're working with HTML and CSS, you have full control over how you'd like it to look.
Here's a base example of something you might do. Let's create this file under resources/views/ogimage/article.blade.php, assuming we're generating this for an article.
<!DOCTYPE html>
<html lang="en">
<head>
    @vite('resources/css/app.css')
</head>
<body>
    <div class="border-2 border-gray-800 w-[1200px] h-[630px]">
        <div class="flex items-center justify-center px-14 py-20 h-full">
            <h1 class="font-bold text-xl">This is a social graph image</h1>
        </div>
    </div>
</body>
</html>
The most important part about this is the w-[1200px] h-[630px] styles. I'm using Tailwind here, but either way — make sure the container for your social image is a specific width and height!
To preview this, register a temporary route so you can open it in your browser.
Route::get('/ogimage', function () {
    return view('ogimage.article');
});
It should look something like this.
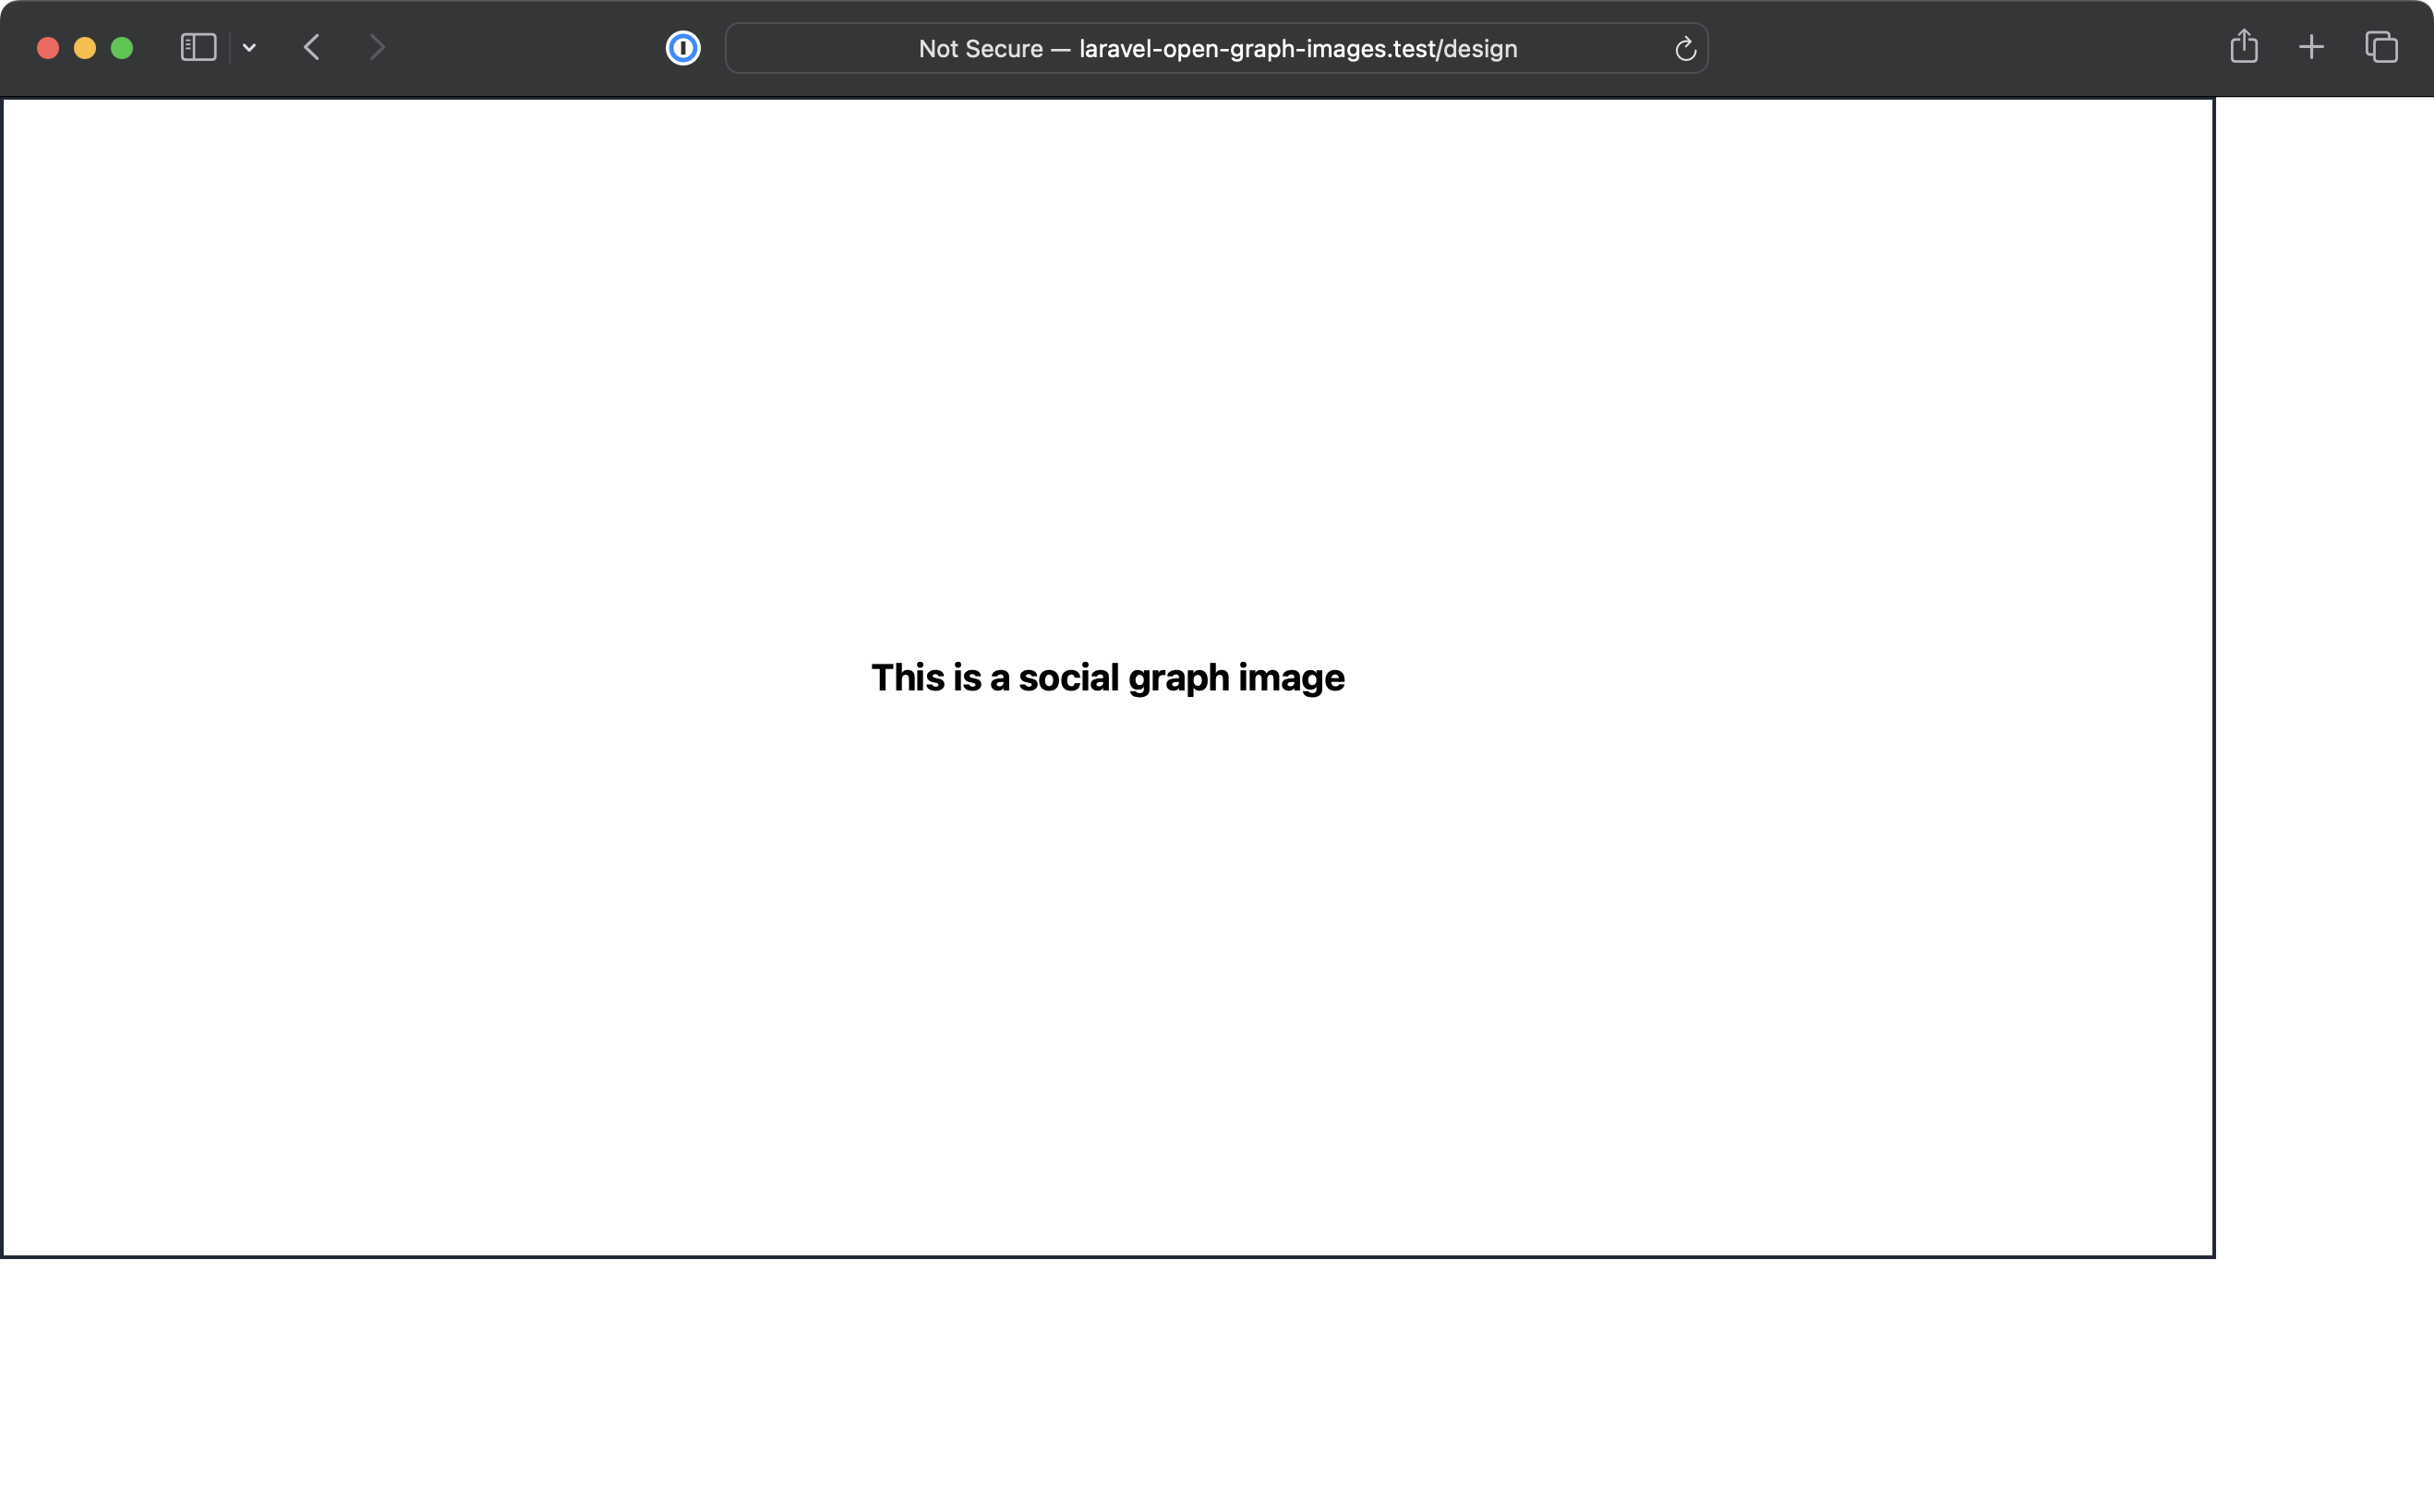
Later on, we'll use chrome-php to capture an image of this.
Before we do that, it's useful to pass down an example model to start outputting real data.
Route::get('/design', function () {
    return view('ogimage.article', [
        'article' => Article::find(1)
    ]);
});
And in your view, you can now output dynamic data.
<div class="border-2 border-gray-800 w-[1200px] h-[630px]">
    <div class="flex items-center justify-center px-14 py-20 h-full">
        <h1 class="font-bold text-xl">{{ $article->title }}</h1>
    </div>
</div>
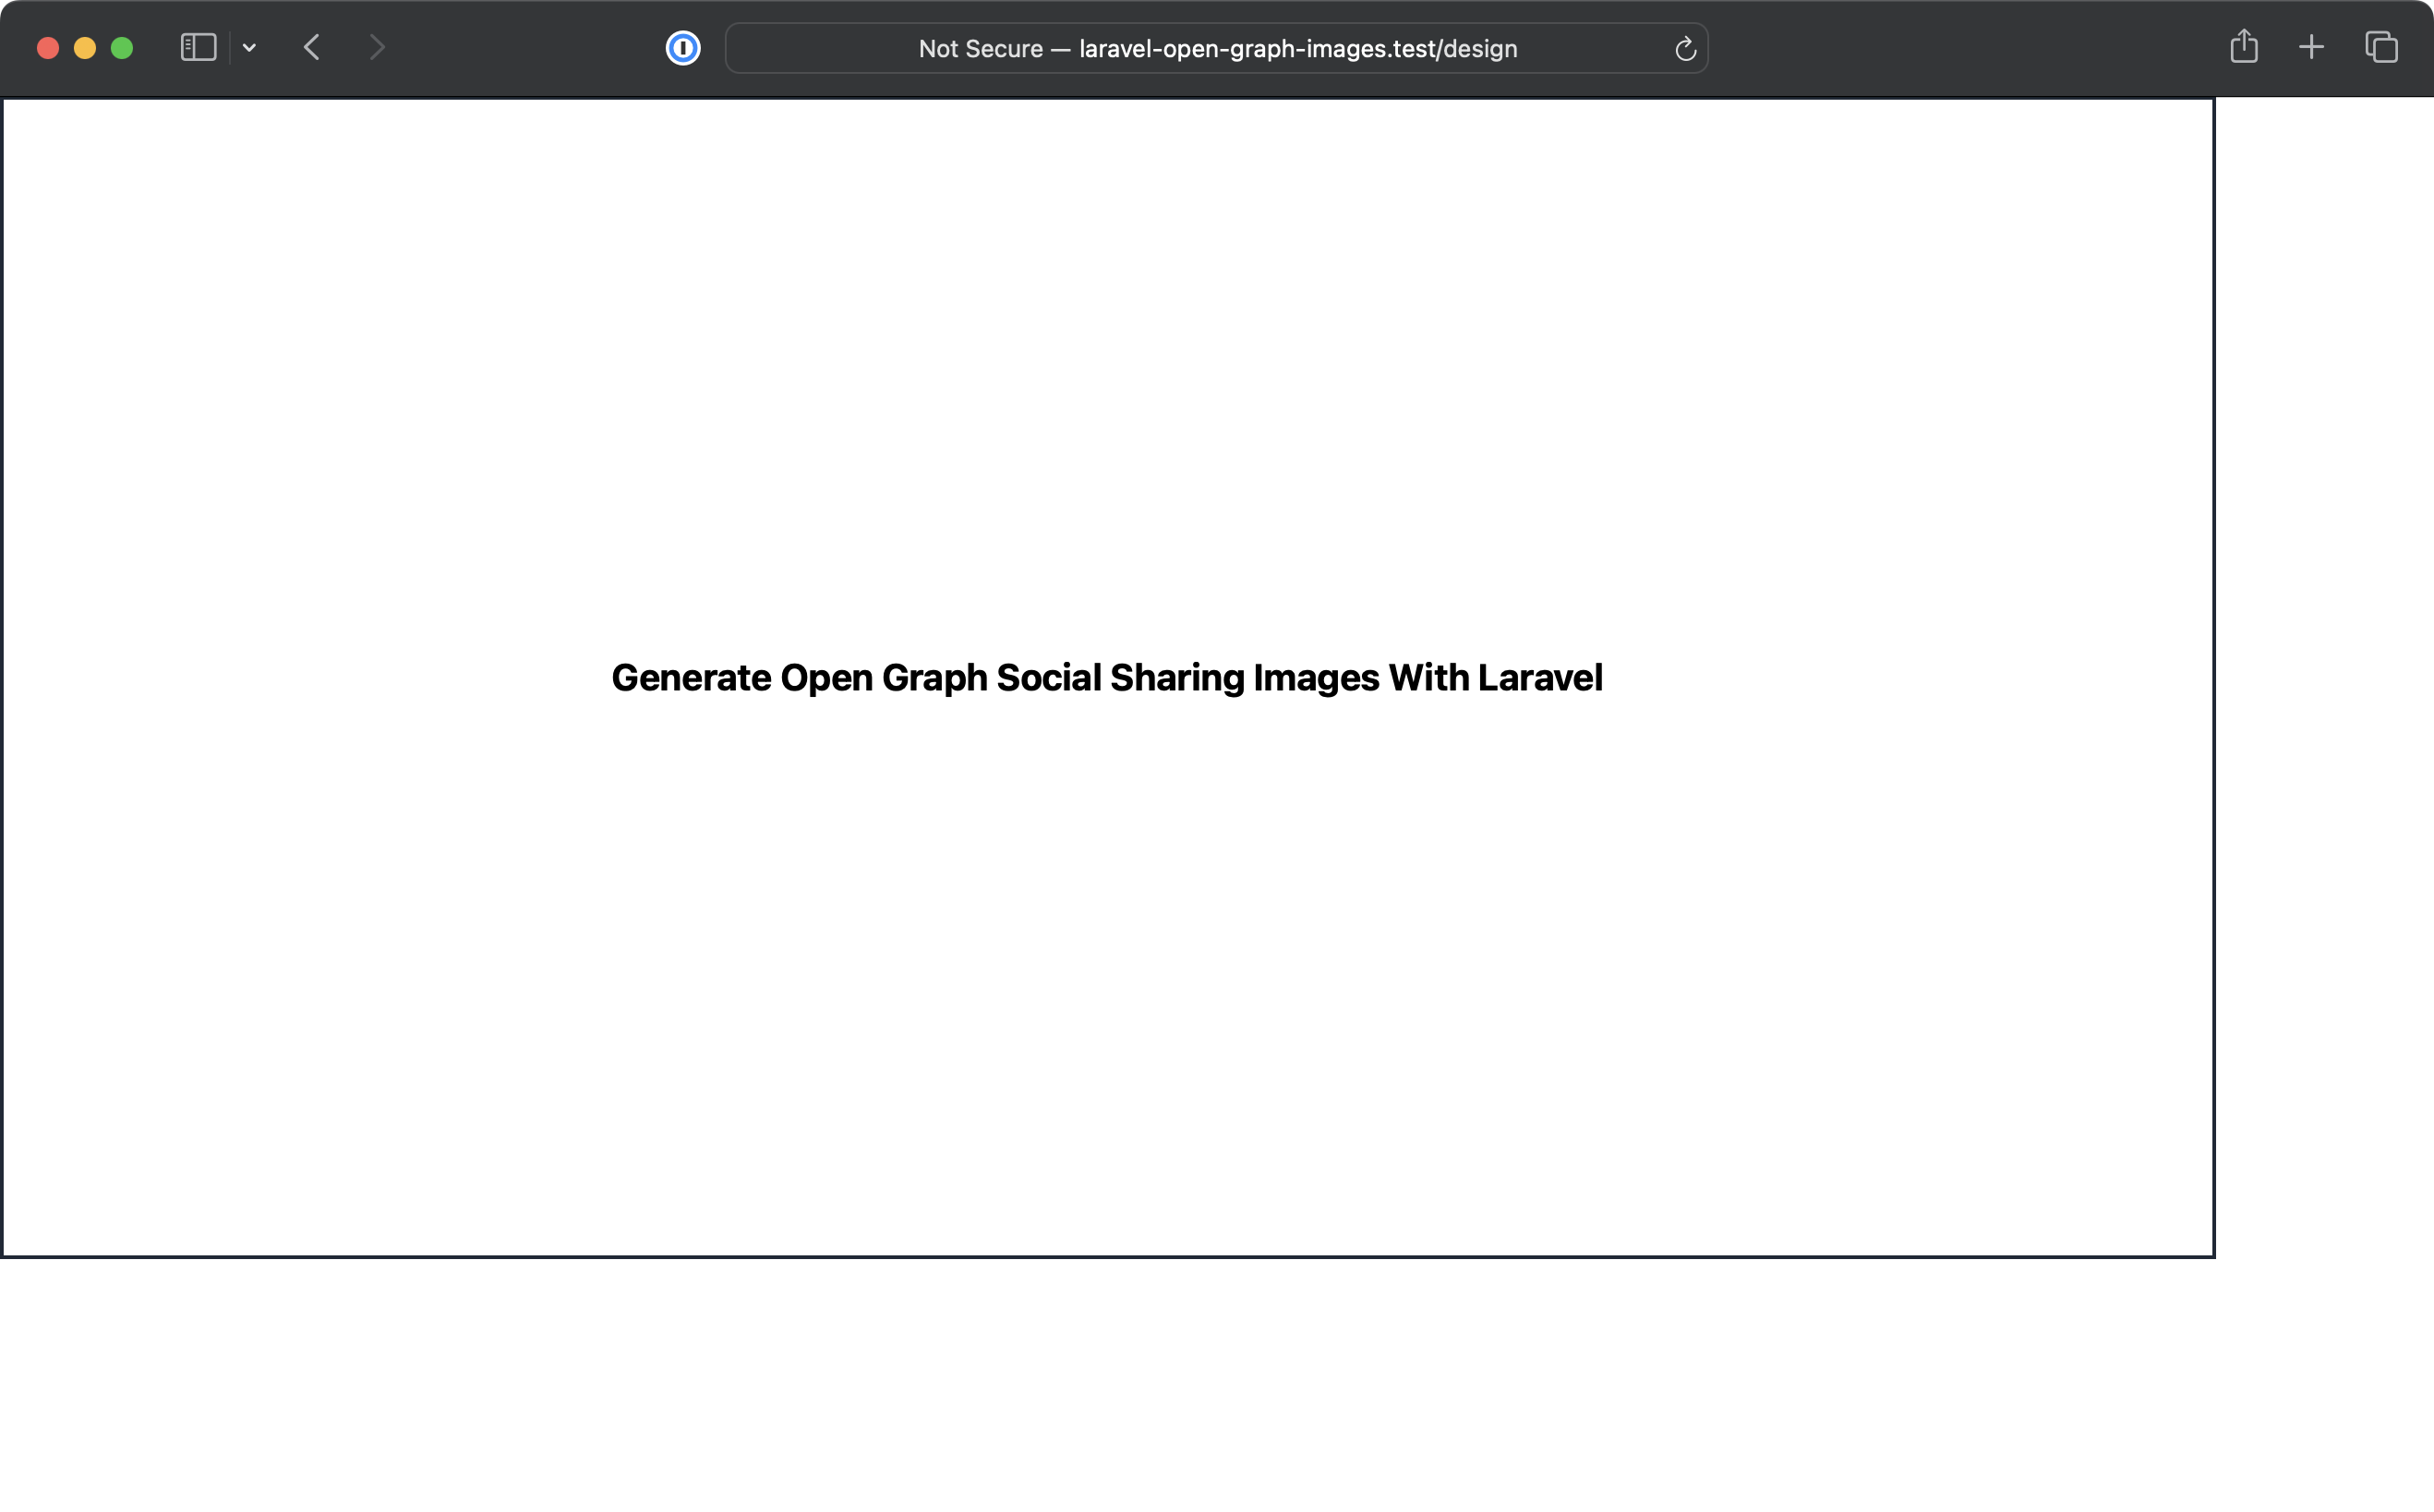
Great, so we now have a view that we can capture an image of. Let's do that next.
Generating the Open Graph image
Since we'll probably want this functionality for other places in our app, let's create an OgImageGenerator class to handle capturing the view we've just built.
use HeadlessChromium\BrowserFactory;

class OgImageGenerator
{
    public function render(string $html)
    {
        $browser = (new BrowserFactory(config('chrome.binaries')))->createBrowser([
            'windowSize' => [1200, 630]
        ]);

        $page = $browser->createPage();

        $page->setHtml($html);

        return base64_decode($page->screenshot()->getBase64());
    }
}
So, what's happening here?
- We create a new instance of
BrowserFactoryfrom chrome-php with a specific window size, the same as we set our container to earlier. - We create a new page using
$browser->createPage() - We fill that page with HTML (eventually our Blade view) with
$page->setHtml($html) - Finally, we take a
screenshotof that page and decode it, giving us back data we're able to output as an image eventually.
Perfect, with this class we can take a screenshot of the Blade view we built earlier. Time to put it into action.
Creating a route for our Open Graph image
To use our generator, we'll create a route and controller that will actually return the image back to us.
Here's the route, taking in an article with route model binding by the article slug.
Route::get('/articles/{post:slug}/ogimage', ArticleOgImageController::class)->name('articles.ogimage');
Here's the controller.
class ArticleOgImageController extends Controller
{
    public function __invoke(Article $article)
    {
        $image = cache()->rememberForever('articles.' . $article->id . '.ogimage', function () use ($article) {
            return (new OgImageGenerator())->render(
                view('ogimage.article')->with(['article' => $article])->render()
            );
        });

        return response($image)
            ->header('Content-Type', 'image/png');
    }
}
A lot is going on here, so let's break it down.
The first thing is our OgImageGenerator in action. We use view to render out the ogimage.blade.php file we built earlier, passing down the article so we can dynamically output anything we need from the article.
(new OgImageGenerator())->render(
    view('ogimage.article')->with(['article' => $article])->render()
);
We then wrap this to cache it forever, since the process of generating our social images will take a little while.
$image = cache()->rememberForever('articles.' . $article->id . '.ogimage', function () use ($article) {
    return (new OgImageGenerator())->render(
        view('ogimage.article')->with(['article' => $article])->render()
    );
});
If any details of the article change and you need to manually clear the cache, you can just pass in the ID of the article to clear the cache when needed.
php artisan cache:forget articles.1.ogimage
Finally from our controller, we return an image response.
return response($image)
    ->header('Content-Type', 'image/png');
Once you're done with this, open this URL in your browser (e.g. /articles/some-article-slug/ogimage), and you should be presented with an actual image of the Blade view you built earlier!

At this point, if you see an error with the image generation with chrome-php, you may need to follow specific steps to point to the binaries (using the config we built earlier) or adjust the configuration. This varies from system to system, so I'll let you handle this for your use case as there are too many to list here.
Applying your Open Graph images
Now you're able to generate social graph images directly from a Laravel route, it's time to apply it to the page so it can be picked up.
Regardless of how you're building your apps (Livewire, Inertia, plain Blade), on the page where you'd like to see the social images picked up, add the following.
<meta property="og:title" :content="article.title">
<meta property="og:description" :content="article.teaser">
<meta property="og:type" content="article">
<meta property="og:image" :content="`/articles/${article.slug}/ogimage`">
<meta property="og:url" :content="`/articles/${article.slug}`">
<meta name="twitter:card" content="summary_large_image">
<meta name="twitter:site" content="@teamcodecourse">
<meta name="twitter:title" :content="article.title">
I've given some specific examples for X (formerly Twitter) here, but you can add more if needed.
We're done
So with a little effort, you're now able to design, generate and serve social images for the content on your site. If you need social images for anywhere else in your application, you just need a new Blade view, a controller using the OgImageGenerator we built... and you're done.
