Flash notifications with Inertia, Laravel and Vue
In this article, we'll go through every step to getting flash notifications working in your Inertia apps when using Laravel and Vue, including building our own plugin to keep everything nice and clean.
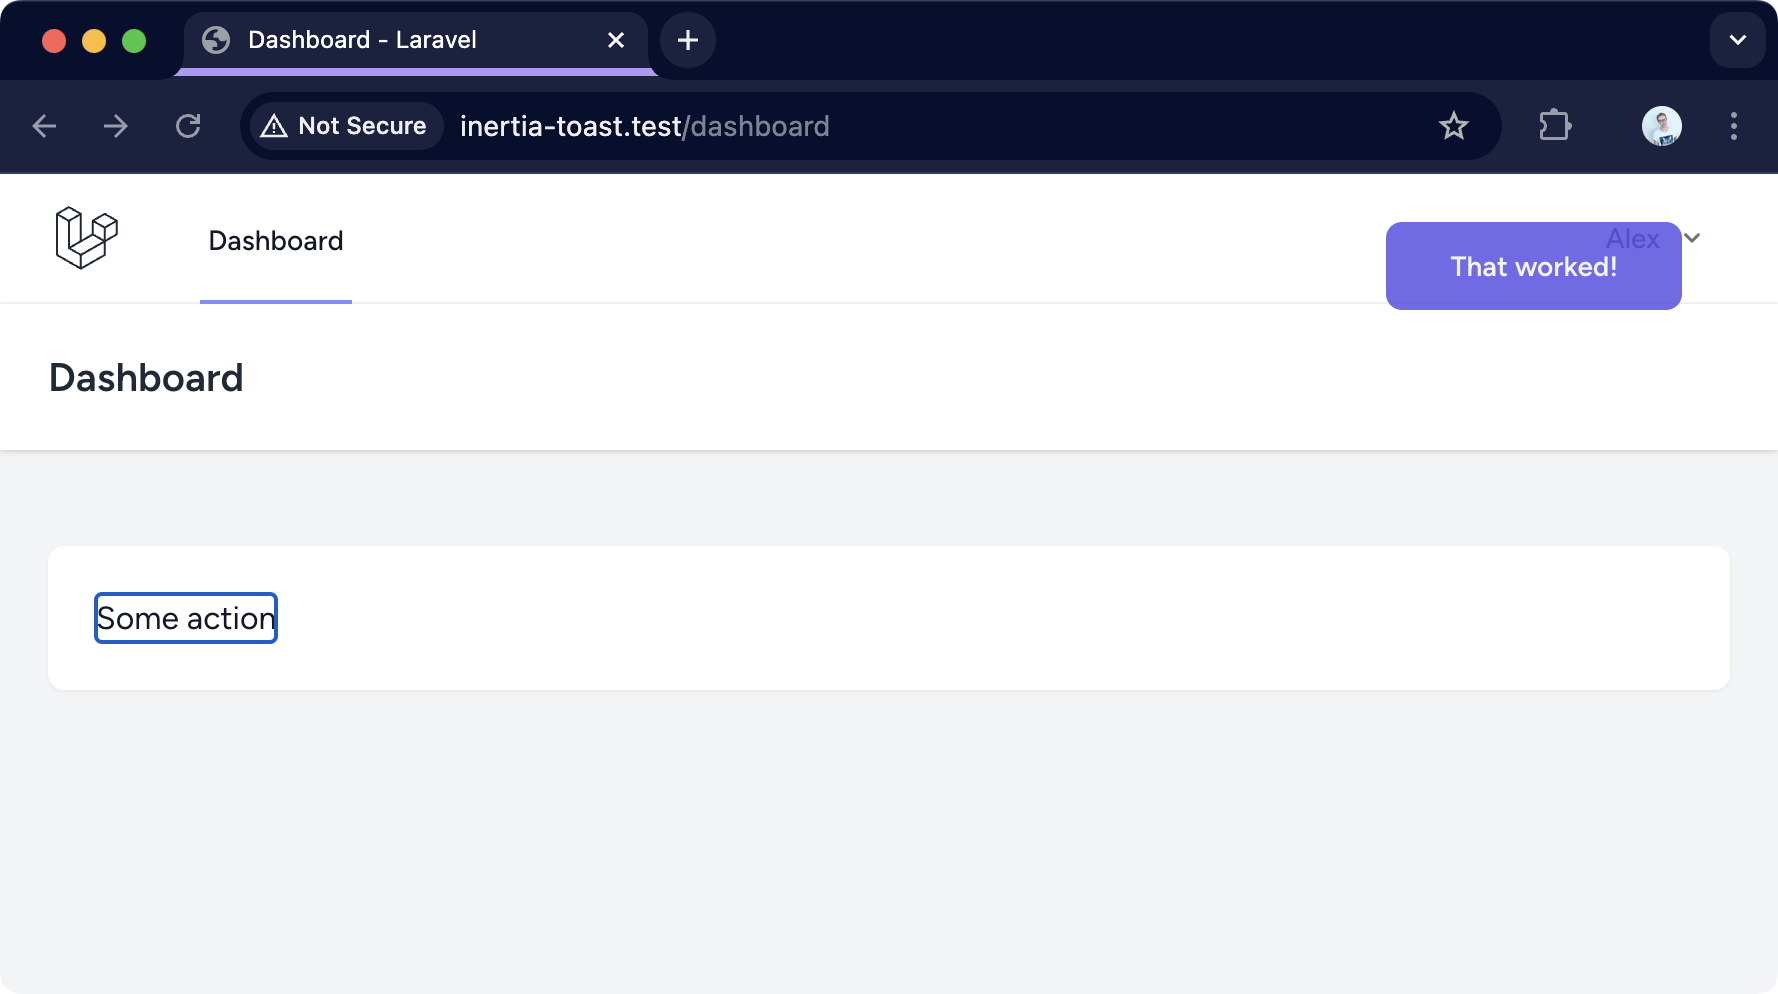
Here's what the end result will look like once we're done:

Setup
There's no particular setup required before we get started. As long as you're running an Inertia app with Laravel and Vue, everything here should work (perhaps with a few tweaks). For this article, I'm using the Laravel Breeze starter kit with the Inertia Vue stack. If you'd like to follow along exactly, create a fresh project with Breeze!
Flash a message
Ok, so the process of flashing a message doesn't change much from what we'd typically do. Let's figure that out first.
Within any of your controllers, flash a message and redirect back. In my case, I've created a specific ActionController just to demonstrate this.
class ActionController extends Controller
{
    public function __invoke()
    {
        return back()->with('flash', [
            'title' => 'That worked!',
            'type' => 'success'
        ]);
    }
}
Notice I've added a title and a type to an array in this flash notification. These are completely flexible, and you can change what you send to the client later.
Here's the route for this action:
Route::post('/action', ActionController::class)->middleware(['auth', 'verified'])->name('action');
To trigger this flash notification, I updated the Dashboard.vue page to POST through to our new route:
<script setup>
import AuthenticatedLayout from '@/Layouts/AuthenticatedLayout.vue';
import { Head, router } from '@inertiajs/vue3';
</script>

<template>
    <Head title="Dashboard" />

    <AuthenticatedLayout>
        <template #header>
            <h2 class="font-semibold text-xl text-gray-800 leading-tight">Dashboard</h2>
        </template>

        <div class="py-12">
            <div class="max-w-7xl mx-auto sm:px-6 lg:px-8">
                <div class="bg-white overflow-hidden shadow-sm sm:rounded-lg">
                    <div class="p-6 text-gray-900">
                        <button v-on:click="router.post('/action')">Some action</button>
                    </div>
                </div>
            </div>
        </div>
    </AuthenticatedLayout>
</template>
Once you're able to make a request through to the action you want, it's time to share this flash data globally.
Globally share flash data
To access the flashed data, we'll need to share it globally so that potentially all pages, components and JavaScript files can access it.
That's a job for the HandleInertiaRequests middleware. Open it up, and add the flashed session data to the share method:
public function share(Request $request): array
{
    return [
        ...parent::share($request),
        'auth' => [
            'user' => $request->user(),
        ],
        'flash' => session('flash'),
    ];
}
There's no real structure to this right now since we want to be able to pass any data in this array to our client.
Create a Vue plugin
Let's think about when we need to read the global flash data we shared in HandleInertiaRequests.
Once an action happens, you're likely redirecting the user back to the previous page or elsewhere. So, the common event we're looking for is when the Inertia router has finished a request.
Using Inertia's router, we're able to hook into events to perform actions like this:
import { router } from '@inertiajs/vue3'

router.on('finish', () => {
    //
})
Any time page navigation happens, this callback will be invoked.
Let's put this together to fetch our flash notification. Create a file at js/Plugins/flash.ts:
import { router, usePage } from '@inertiajs/vue3'

const page = usePage()

export default () => {
    router.on('finish', () => {
        let flash = page.props.flash

        if (flash) {
            console.log(flash)
            page.props.flash = null
        }
    })
}
The job of this plugin is to fetch the content of the flash key we're sharing in HandleInertiaRequests only when the user navigates. A simple if statement checks if the flash is present and then (right now) logs to the console.
Register this plugin in js/app.js:
import './bootstrap';
import '../css/app.css';

import { createApp, h } from 'vue';
import { createInertiaApp } from '@inertiajs/vue3';
import { resolvePageComponent } from 'laravel-vite-plugin/inertia-helpers';
import { ZiggyVue } from '../../vendor/tightenco/ziggy';
import flash from '@/Plugins/flash'

const appName = import.meta.env.VITE_APP_NAME || 'Laravel';

createInertiaApp({
    title: (title) => `${title} - ${appName}`,
    resolve: (name) => resolvePageComponent(`./Pages/${name}.vue`, import.meta.glob('./Pages/**/*.vue')),
    setup({ el, App, props, plugin }) {
        return createApp({ render: () => h(App, props) })
            .use(plugin)
            .use(ZiggyVue)
            .use(flash)
            .mount(el);
    },
    progress: {
        color: '#4B5563',
    },
});
Open your console and hit the button that sends a request to the /action route we created earlier. If you see the flash notification data dumped in the console, we can start choosing a plugin to display notifications!
Flash on the client
There are a ton of notification libraries available for Vue. Personally, I aim to use headless libraries where I can. This avoids having to pull in many styles that you know you'll override anyway.
With that said, we'll choose notiwind.
Installing notiwind
Start by installing it:
npm i notiwind
Next, register the plugin in js/app.js:
import './bootstrap';
import '../css/app.css';

import { createApp, h } from 'vue';
import { createInertiaApp } from '@inertiajs/vue3';
import { resolvePageComponent } from 'laravel-vite-plugin/inertia-helpers';
import { ZiggyVue } from '../../vendor/tightenco/ziggy';
import flash from '@/Plugins/flash'
import Notifications from 'notiwind'

const appName = import.meta.env.VITE_APP_NAME || 'Laravel';

createInertiaApp({
    title: (title) => `${title} - ${appName}`,
    resolve: (name) => resolvePageComponent(`./Pages/${name}.vue`, import.meta.glob('./Pages/**/*.vue')),
    setup({ el, App, props, plugin }) {
        return createApp({ render: () => h(App, props) })
            .use(plugin)
            .use(ZiggyVue)
            .use(Notifications)
            .use(flash)
            .mount(el);
    },
    progress: {
        color: '#4B5563',
    },
});
Notiwind components
The Notiwind plugin registers NotificationGroup and Notification components that we can use to display all notifications we've pushed to notiwind.
To keep things tidy, create a Notifications component of your own in js/Components/Global/Notifications.vue and use the following example:
<template>
    <NotificationGroup>
        <div class="fixed inset-0 flex items-start justify-end pointer-events-none max-w-8xl px-6 mr-6 mt-6 lg:mx-auto z-[100]">
            <Notification v-slot="{ notifications, close }">
                <div
                    v-for="notification in notifications"
                    :key="notification.id"
                    v-on:click="close"
                    class="bg-indigo-600/80 rounded-lg px-8 py-3 flex items-center space-x-4 mb-3 relative pointer-events-auto cursor-pointer text-gray-100 text-sm font-semibold"
                >
                    {{ notification.title }}
                </div>
            </Notification>
        </div>
    </NotificationGroup>
</template>
I've added some styles here with Tailwind. If you don't use Tailwind, go ahead and add your own styles to the overall wrapper and each notification that we iterate through (or just leave it plain for now while you follow the rest of the article).
You'll also notice that within the Notification slot, we expose a close function that will immediately close off a notification. I've hooked this up to invoke when a notification is clicked with v-on:click="close". Of course, feel free to adjust the trigger for this.
Now, use this component anywhere you use layouts. Since we're using Breeze here, we have an AuthenticatedLayout layout:
            <!-- The rest of the layout lives up here -->

            <main>
                <slot />
            </main>
        </div>
    </div>

    <Notifications />
</template>
Trigger notiwind
To trigger a notification and push it to the notiwind stack, head back to the js/Plugins/flash.ts plugin we created earlier and update it:
import { router, usePage } from '@inertiajs/vue3'
import { notify } from 'notiwind'

const page = usePage()

export default () => {
    router.on('finish', () => {
        let flash = page.props.flash

        if (flash) {
            notify(flash, 4000)
            page.props.flash = null
        }
    })
}
Here, we're invoking the notify function and passing in all the flash data we shared earlier, with a four-second delay for the notification.
Once you're done, you should be able to trigger that /action again and see the notification appear!
Add notification types
Because we're being really loose with the data we're sending down from Laravel and picking up with Inertia's router, we can define the type of notification and adjust the styles or markup to change what's displayed to the user.
Here's a reminder of what we flashed from the example ActionController:
class ActionController extends Controller
{
    public function __invoke()
    {
        return back()->with('flash', [
            'title' => 'That worked!',
            'type' => 'success'
        ]);
    }
}
Anything we pass to this array gets sent down to each notification we iterate over in the Notifications.vue component. So, let's update it!
<template>
    <NotificationGroup>
        <div class="fixed inset-0 flex items-start justify-end pointer-events-none max-w-8xl px-6 mr-6 mt-6 lg:mx-auto z-[100]">
            <Notification v-slot="{ notifications, close }">
                <div
                    v-for="notification in notifications"
                    :key="notification.id"
                    v-on:click="close"
                    :class="{
                        'bg-indigo-600/80': notification.type === 'success',
                        'bg-red-600/80': notification.type === 'error',
                    }"
                    class="rounded-lg px-8 py-3 flex items-center space-x-4 mb-3 relative pointer-events-auto cursor-pointer text-gray-100 text-sm font-semibold"
                >
                    {{ notification.title }}
                </div>
            </Notification>
        </div>
    </NotificationGroup>
</template>
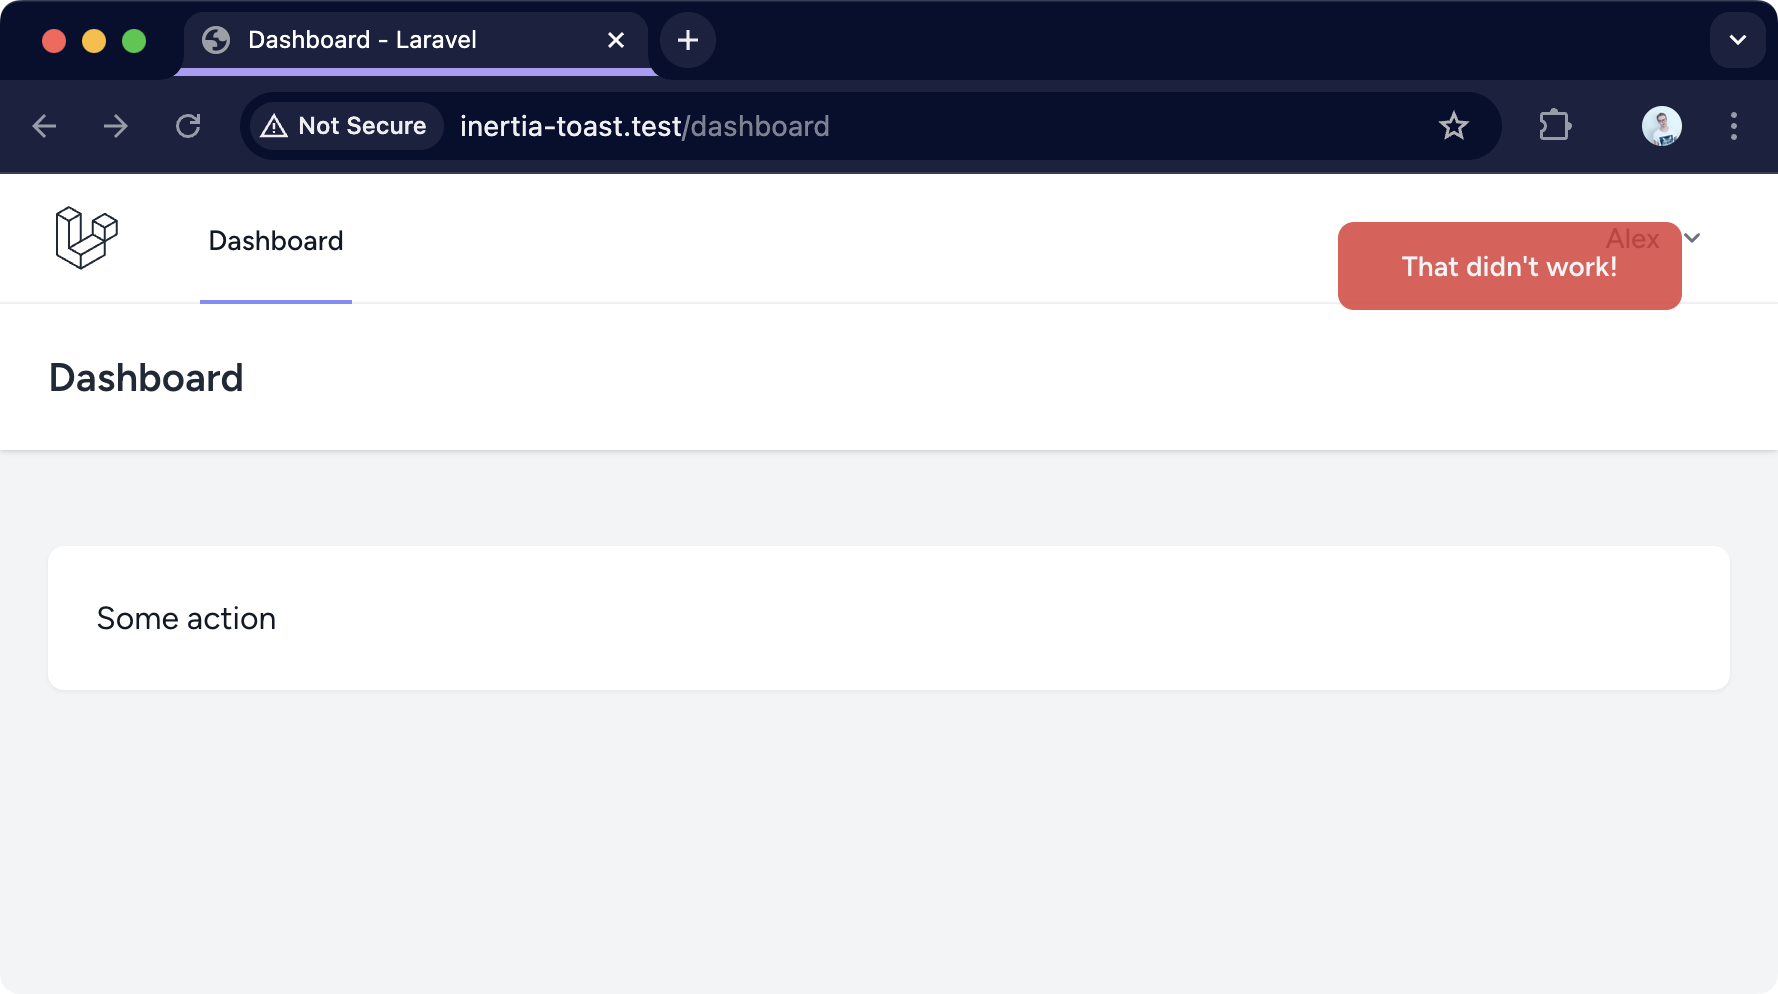
Now we've added classes for success and error, swap over the type in the controller and see what happens.
class ActionController extends Controller
{
    public function __invoke()
    {
        return back()->with('flash', [
            'title' => 'That didn\'t work!',
            'type' => 'error'
        ]);
    }
}
Hit the trigger for the /action route again, and you should see the changed styling specifically for an error.
Add transitions
Ok, so not strictly necessary. Let's add some transitions to the notifications we're showing.
Head over to the Notifications.vue component we created earlier and wrap each Notification iteration within a transition-group.
<template>
    <NotificationGroup>
        <div class="fixed inset-0 flex items-start justify-end pointer-events-none max-w-8xl px-6 mr-6 mt-6 lg:mx-auto z-[100]">
            <Notification v-slot="{ notifications, close }">
                <transition-group
                    tag="div"
                    enter-active-class="transition ease-out"
                    enter-from-class="transform opacity-0 translate-x-6"
                    leave-active-class="transition ease-out"
                    leave-to-class="transform opacity-0 translate-x-6"
                >
                    <div
                        v-for="notification in notifications"
                        :key="notification.id"
                        v-on:click="close"
                        :class="{
                            'bg-indigo-600/80': notification.type === 'success',
                            'bg-red-600/80': notification.type === 'error',
                        }"
                        class="rounded-lg px-8 py-3 flex items-center space-x-4 mb-3 relative pointer-events-auto cursor-pointer text-gray-100 text-sm font-semibold"
                    >
                        {{ notification.title }}
                    </div>
                </transition-group>
            </Notification>
        </div>
    </NotificationGroup>
</template>
Regardless of how many notifications get shown, they'll all be nicely transitioned in and out.

TypeScript support
It would be nice to have some type safety for the notification data we're sending down and displaying! Entirely optionally, let's use TypeScript to make this a little more predictable. Notiwind supports TypeScript, which is another reason I love this package.
Define a Notification type
Create a js/Types/notification.ts file and add the following:
export type Notification = {
    title: string;
    type: string;
}
This defines our notifications as having a title and type, both of which are strings.
Use TypeScript with notiwind
To use TypeScript with notiwind, we'll have to set it up differently. Start by creating a js/Plugins/notiwind.ts file and add the following:
import { createNotifier, NotificationGroup, defineNotificationComponent } from 'notiwind'

import { Notification as NotificationSchema } from "@/Types/notification"

export const notify = createNotifier<NotificationSchema>()
export const Notification= defineNotificationComponent<NotificationSchema>()

export {
    NotificationGroup
}
Here, we're using our TypeScript notification schema to tell notiwind what to expect for each notification and then re-export everything we need from this custom plugin file.
Use the typed notiwind exports
Head to js/Plugins/flash.ts that we created earlier, update it to use the plugin file we created in the last step, and change the type we're expecting from our Inertia props.
import { router, usePage } from '@inertiajs/vue3'
import { notify } from '@/Plugins/notiwind'
import { Notification } from '@/Types/notification'

const page = usePage()

export default () => {
    router.on('finish', () => {
        let flash = <Notification>page.props.flash

        if (flash) {
            notify(flash, 4000)
            page.props.flash = null
        }
    })
}
You can also change over js/Components/Global/Notifications.vue to use the notiwind components that are now aware of our Notification type (as well as change the lang of the component script section):
<script setup lang="ts">
import { Notification, NotificationGroup } from '@/Plugins/notiwind'
</script>
That's it! Because this is now typed, we're sure of the data being used in each notification — plus, we'll get a nice editor autocomplete on the properties of each notification.
Totally flexible
Now you're done with the base functionality for flash notifications in Inertia, feel free to play around with how these work. I purposely don't overcomplicate flash notifications or tie myself into any specific expected data because you'll likely need slightly different variations of notifications in the future.
